 |
| that's really all it takes! |
The discovery of a bag of rolled oats left over from a cookie exchange (where we explored the urban legend of the Neiman Marcus Cookie), the recent procurement of a bread machine and a co-worker’s challenge to find a healthy white bread recipe all collided in a deliciously fluffy loaf of healthy honey and oat bread.
.jpg) |
| this seriously happened while I did my nails! |
THE MYSTERY THAT IS YEAST
When provided food (sugar, most commonly), moisture and
warmth, yeast releases carbon dioxide which is what causes the tiny pockets of
air that make bread so gloriously light and airy. The three most common types
used for baking are: rapid rise yeast, instant active dry yeast and active dry yeast.
THE ODD MAN OUT
Rapid rise yeast has enzymes and other additives that make
dough rise faster so your dough will only require one rise. You can shape your
loaves right after kneading. No fuss. No muss. Unfortunately, like all such
sorcery, this magic is not without its price. What you save in time you
actually lose in flavor and texture. Because this type of yeast acts so
differently, it is not interchangeable with
the two active dry types.
INSTANT OR NOT, THAT IS THE QUESTION
The two types of active dry yeast are compressed and dried until the moisture content
is only about 8% leaving your yeast dormant. The yeast only becomes active when
it is mixed with a warm liquid.
Both types will give your dough two rises giving it ample
time to develop that rich homemade flavor. Instant active dry yeast (also known as bread machine yeast) is milled
into finer particles than the regular active dry so it does not require any
additional steps to activate. It can simply be added with your dry ingredients
and away you go.
 |
| proof to be sure yeast is active |
Active dry yeast lasts about twice as long as the instant stuff and is
generally less expensive. Also, the proofing of the yeast puts my mind at ease
because you can actually see that the yeast is still active before adding all
your dry ingredients and proceeding to waste the next three hours of your life.
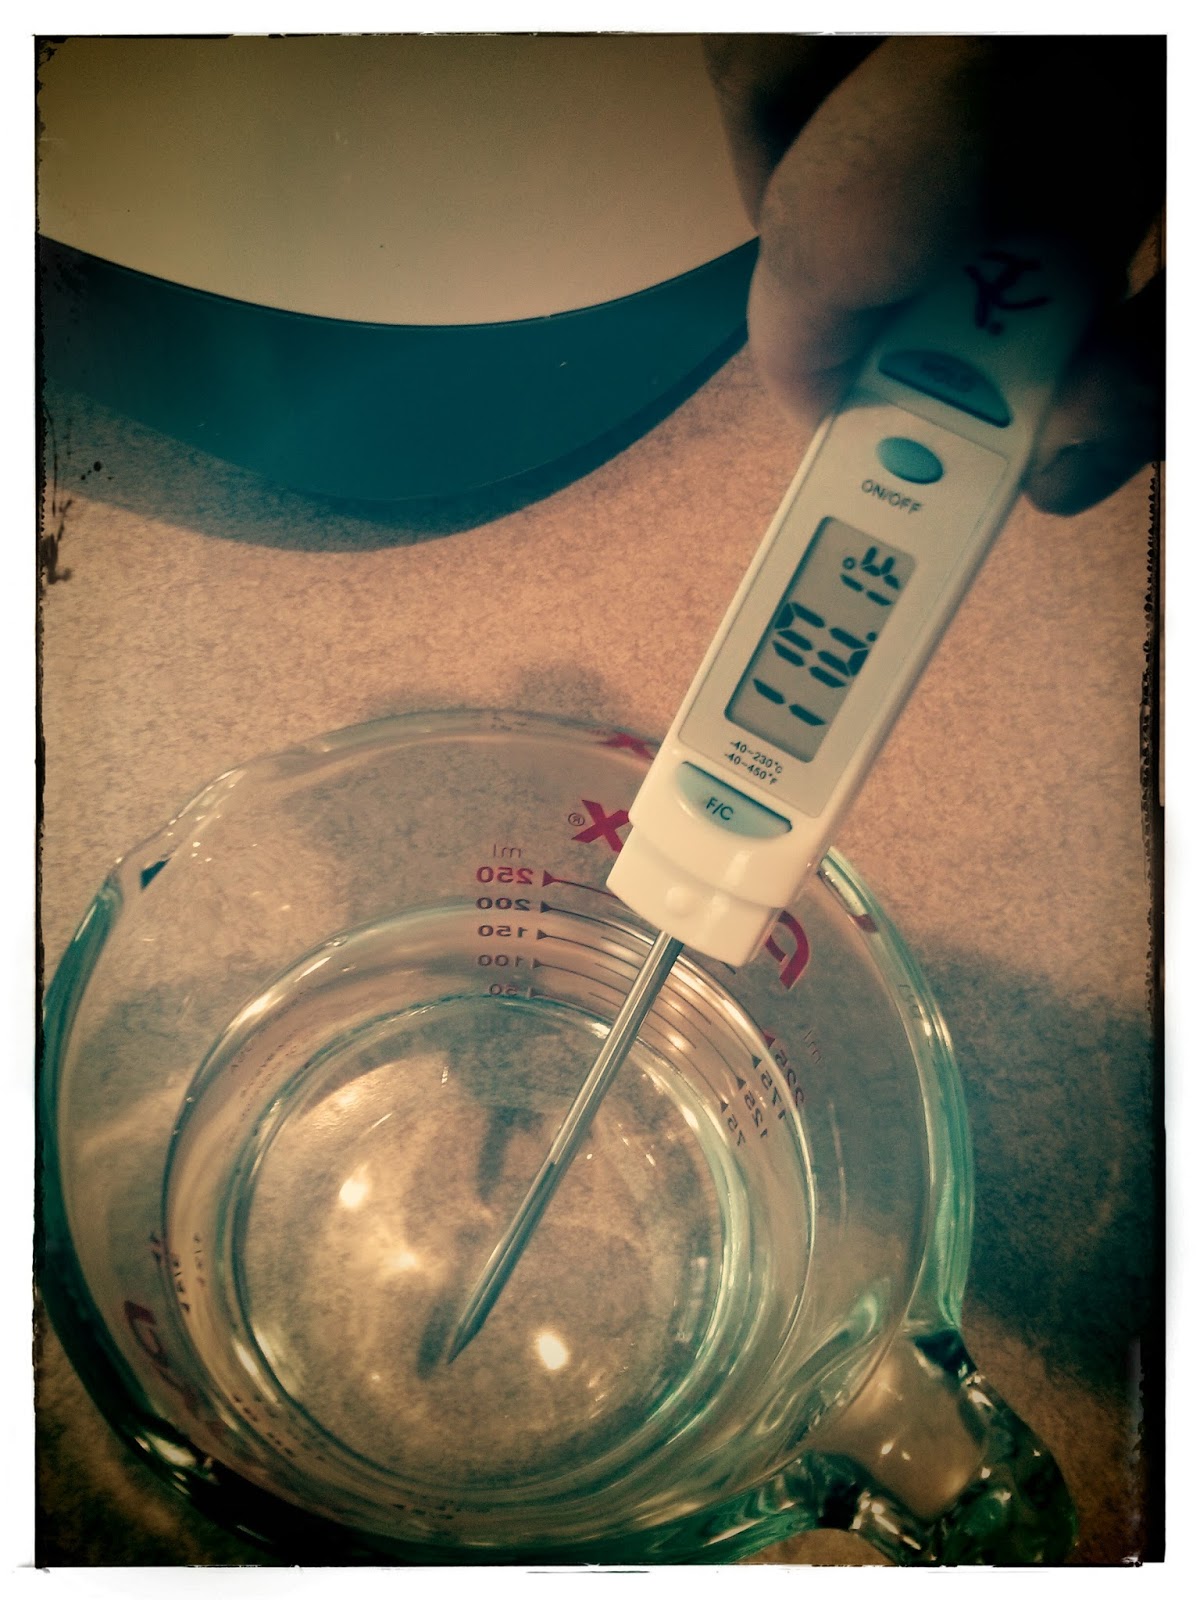
THE IDEAL YEASTY CLIMATE
Food (sugar) and moisture (water) are the easy parts. The
trickiest part to bread making in a machine is getting the temperature of your
proofing water right.
 |
| just right... |
105°
F–115° F is ideal for dry yeast to be reconstituted with water and sugar (proofing
active dry yeast).
120° F–130°
F is perfect for activating yeast designed to be mixed with dry ingredients
(instant active dry yeast)
At 130°
F–140° F, you've killed your yeast. It’s dead. Do not pass Go.
INGREDIENTS
recipe yields 1 one pound loaf- 1 cup water (110° F)
- 1 packet (8 grams) active dry yeast
- 1 tablespoon brown sugar (if using active dry yeast)
- 1 tablespoon of walnut oil (or vegetable oil)
- 1/4 cup honey (less 1 tablespoon if using brown sugar to proof)
- 1 teaspoon of salt
- 1/2 cup rolled oats
- 2 1/3 cups unbleached all purpose flour (or regular all purpose white or bread flour)
DIRECTIONS
- *Proof active dry yeast: add water (110° F), 1 tablespoon brown sugar and 1 package active dry yeast to machine
- Leave yeast to dissolve for approximately 10 minutes till it is foamy
- Add 1 tablespoon of walnut oil, 1/4 cup (less 1 tablespoon) honey and 1 teaspoon salt
- Then add 1/2 cup rolled oats and 2 1/3 cups unbleached all purpose flour
- Select crust colour, loaf size and press start
 |
| Delicious success! Perfect plain, toasted and for sandwiches! |
~the smallest loaf size selection on my machine was 2.5 lbs, so I selected the lightest crust setting and it baked up perfectly!